a cajube
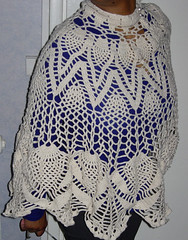

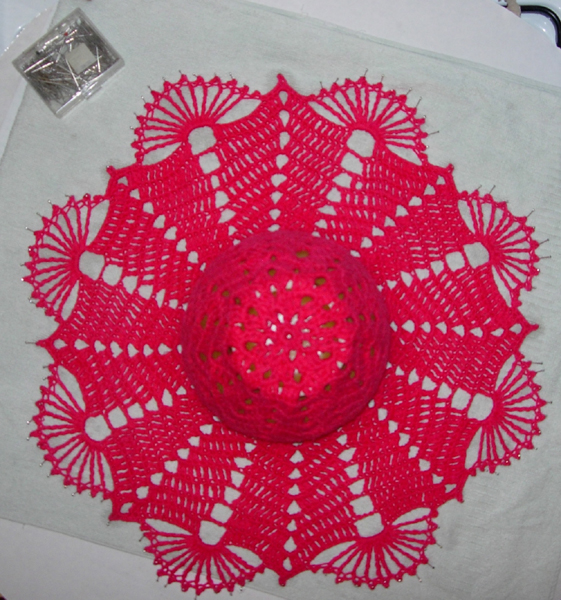
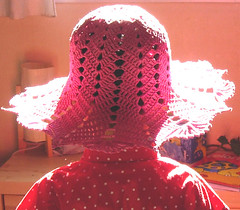
I've just finished the shawl I was working on as part of a French Crochetalong, except I didn't make a shawl (God I cannot make myself follow a pattern!), I crocheted in the round and made a kind of capelet.
I call it my cajube :
- CA stands for CAPELET,
- JU stands for JUPE (the french for skirt),
- and B stands for BUSTIER (which is the French for tube top)
When doing so I thought to myself hey! this would be another cool way to use a doily pattern!
What is a cajube?
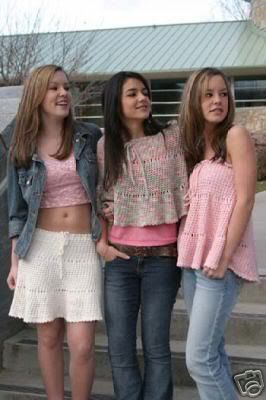
Well it's just a tube with a kind of closing in the front (draw string or buttons or whatever you fancy)
that you can wear either as
- a capelet, or "poncho" (the dreaded one),
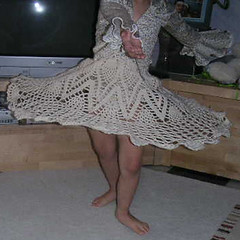
- a skirt,
- a strapless top, or even strapless mini-dress,
How to do it?
Change a doily pattern


- Select a doily pattern, remember you'll need lining if the stitch isn't solid enough, and keep in mind the length of the finished object you want to achieve... this one comes from True Love Treasures.
- 1. Make a chain long enough to circle your waist, make the number of chain stitches match a multiple of the chain starting the doily (for exemple, if the doily starts with a chain of 8, your cajube chain should be a chain of 64, 72, 80 or 88, etc... ), don't close the chain, crochet the first rounds of the doily in rows.
- 2. Check regularly to see if the row you're crocheting is wide enough to fit your pelvis, if it is, close this row and start crocheting in rounds.
- 3. Finish the "doily" as the pattern states. Add a draw string, buttons and button holes, velcro fastener, etc..., add a lining if necessary and wear..
Freehand it
Here you can either crochet a tube or a cone. Both are quite easy to implement.
- Tubular cajube
- 1. Make a chain long enough to circle your waist, don't close the chain, crochet in rows on the first 10 to 15 rows and make regular increases (i.e. two stitches in one stitch).
- 2. Crochet in rows without increases. Check regularly to see if the row you're crocheting if wide enough to fit your pelvis.
- 3. When the row you're crocheting is wide enough to fit your pelvis, close this row and start crocheting in rounds.
- 4. When the project reaches the desired length, stop crocheting, weave in ends Add a draw string, buttons and button holes, velcro fastener, etc..., add a lining if necessary and wear.
- Conical cajube
- 1. Make a chain long enough to circle your waist, don't close the chain, crochet in rows, make regular increases (i.e. two stitches in one stitch)and check that if the borders of the first rows were sewn together, the project would lay flat (or almost).
- 2. When the row you're crocheting is wide enough to fit your pelvis, close this row and start crocheting in rounds, add regular increases and check regularly that the project (or at least the 20 last inches of it) lay doily-like flat.
- 3. When the project is about to reach the desired length, double increases (i.e. two stitches or more in one stitch)to create a nice ruffle.
When the project finally reaches the desired length, stop crocheting, weave in ends Add a draw string, buttons and button holes, velcro fastener, etc..., add a lining if necessary and wear.


It doesn't get simpler than that!
: ! :
Things you need to keep in mind
when turning rounds into rows :
the height of the first stitch of your row must equal the height ot the others, so
- if the basic stitch of your stitch pattern is a single crochet, the first stitch of your row will be a chain stitch
- if the basic stitch of your stitch pattern is a double crochet, you must start your row with 3 chain stitches
- etc... see this picture for reference.
I hope you found that tute useful, let me know if you try it!
Labels: capelet how-to


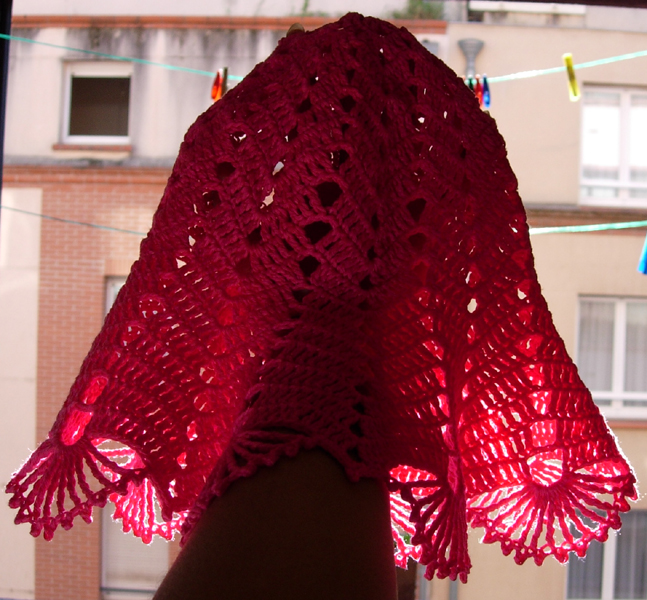




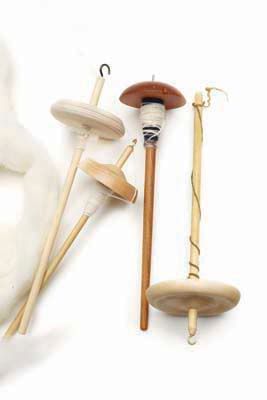 I've been thinking of spinning my own fibers to crochet, and I was hesitating between growing gossypium barbadense (Egyptian cotton bush), litter training a home angora rabbit or buying a cat. This is part one of the saga " the choice of the victim", but I haven't translated it yet... sorry folks!


