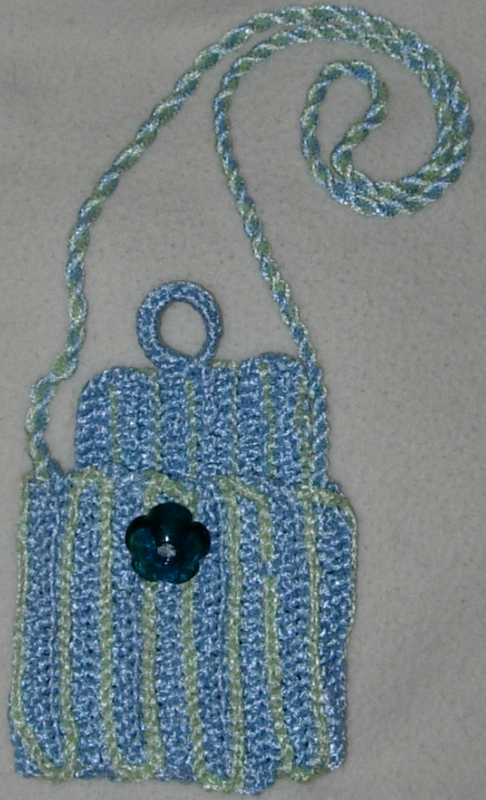


Baby Clara's gift
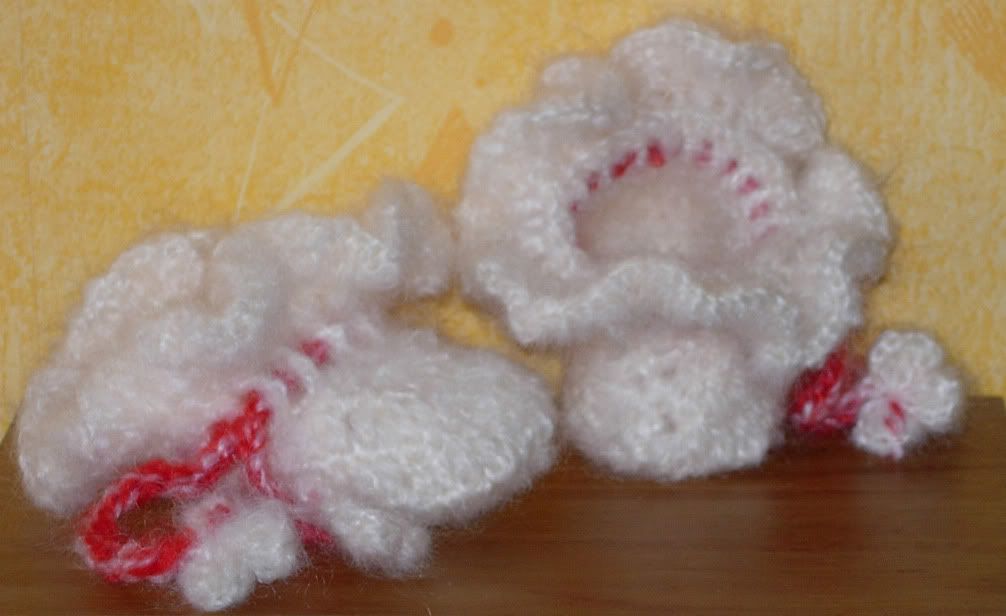
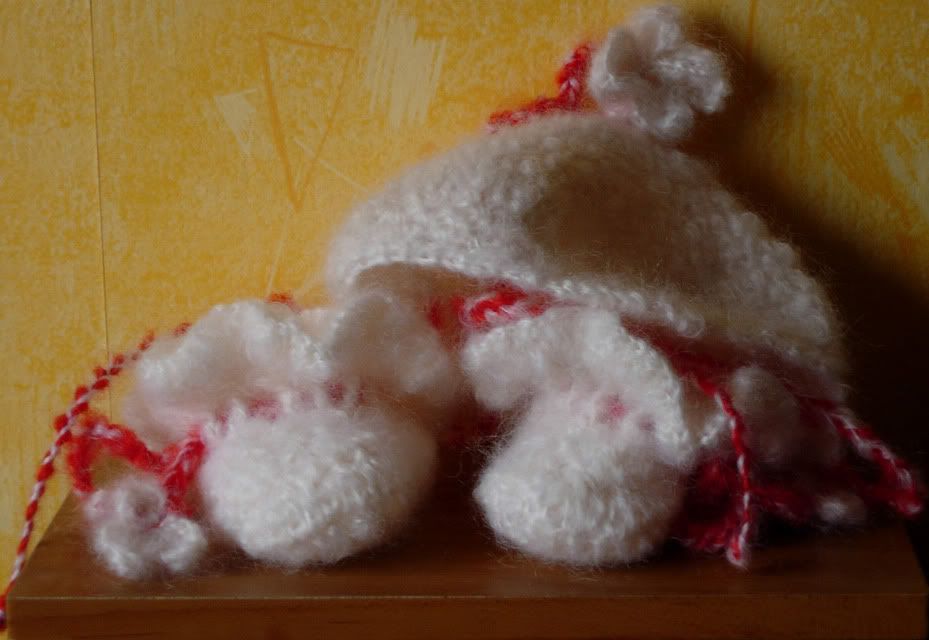 I can't believe I forgot to tell about those! This is a baby booties and baby hat set I crocheted for a friend of mine. I was inspired by another crochetville lady to crochet baby boots and a cap for my friend's newborn girl. As it was for a baby, and for a very dear friend, I dig up the most expensive and soft yarn I had in my stash : mohair. I tried to follow a pattern I had but as usual, couldn't stick to it, so I rewrote it (tried to make a decent scheme in the meantime...). The shamrock shape of the booty lace came naturally to my mind, I added a four leaves one to the cap as
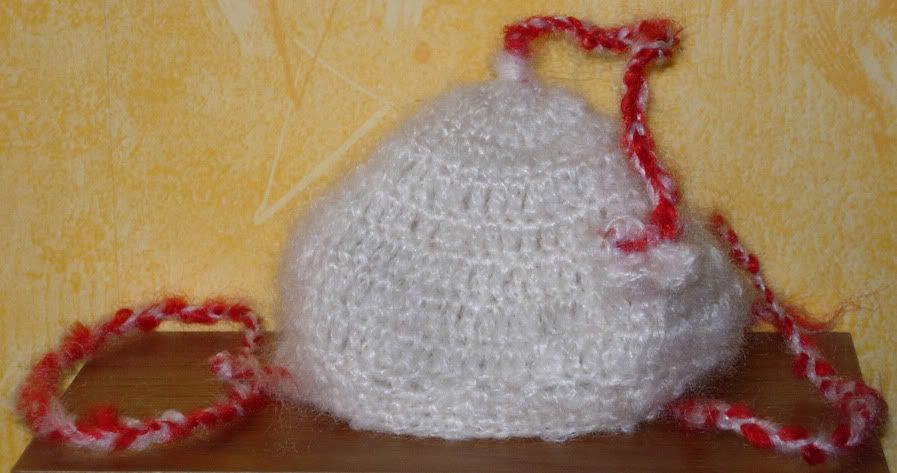
a lucky charm, the bumping edge over the booty lace results from front posting the row before the ruffle (dunno if I'm clear...). The cap is just double crochet with one increase every 4 stitch on every row. The ear flaps are a cluster of 10 treble crochet I included while crocheting the single crochet trim of the border.. . The boots laces are just braids of the (skinny) leftovers from the yarns I used.
YARN : This was crocheted with Bouton d'or yarn "Melody"(80%
mohair, 13% wool, 7% polyamid - 50g=142 yards) I used one ball of yarn for the whole set.
HOOK : I used a crochet hook number 3 (French number... I think
the equivallent is for American crocheters is D, 11 for English ones...)
 More pictures:
-

-


- and there.

by ~ Pyo ~
on Tuesday, January 31, 2006 at 1/31/2006 10:30:00 AM
2 comments
![]()